Introduction
I'm writing this 3 days after completing my project which was 1 day before my self imposed deadline. Talk about cutting it close. I think without the deadline it would have dragged on much longer than necessary and this really drove me through to completion. Especially as the deadline was my son's 10th birthday party where 8 boys would be expecting this "wondrous" arcade machine my son had been telling them about for 2 months.Thankfully, it seems to have lived up to the hype and there is nothing like having a group of hyper-active children, banging away at a control panel you spent 3 hand cramped days on, to break in the unit and test if you've built something to be happy about.
The unit is still standing and functioning. I have a few bugs to work out, software wise, but nothing too serious. The kids played on it for more than 12 hours with few hiccups mostly derived from their impatience.
I have to say I'm fairly happy with how it turned out. The first night I had it up and let my kids play to test it out, my wife came to my office to tell me how big the kid's smiles were. Later she had me show her how to get to space invaders. Although not a gamer, this is one title she loved to play as a child with her Dad and wanted to check it out. "I just want to play a few times", she said. Nearly 2 hours later she finally stepped away, surprised how hard that game was compared with say, many of today's games.
I've had a few friends come by who were unaware I was working on this project and walked away impressed. One suggested I build them on the side and sell them for $4000. I wish!
The Genesis
I had been thinking about building a Mame cabinet for nearly a year. I even found the perfect 4:3 LCD monitor on E-Bay and bought immediately. 8 or 9 months later I had learned a great deal about not only home made arcades, I had also began to buy original arcade units and had two sitting in my garage. My appreciation for restoring and/or preserving these icons of my childhood became of great interest. I had sort of put the idea of building a Mame cabinet out of my mind. I was hooked on owning originals and was getting a dozen alerts a day from Craig's List with potential new purchases.
About 2 months ago, my son and his friend said they were bored. I told them to go out and play my Double Dragon unit that was in the garage...my holy arcade grail....and see if they can beat it. 20 minutes later they came back and said, we beat it. No way!?
This got me to thinking and it was at that point I decided I may want to build my own. I can enjoy many of my favorite games with my kids and slowly build my collection of original machines in the mean time. Plus the kids couldn't get bored and would learn to love these classic games.
I had been negotiating with a guy on the KLOV forum for a Marvel vs Capcom which was in a converted 4 player Konami cab. I thought about buying it, restoring it to whatever it had been and then building a reproduction of the Marvel vs Capcom. The unit could be had for a fair price but it was a 4 hour drive each way and then I started to calculate the potential costs. I'm still sort of kicking myself but I decided I would build my own unit, just so I can experience the process. AND, not only that, I would make it the centerpiece of my son's birthday party. Instead of tossing money away by hauling a bunch of kids to the movies or a to any sort of childhood amusement center, we would invest it into this Mame machine.
My wife was on-board so all systems go.
The Project
I had already decided I wanted to use HyperSpin as the front end and had begun piecing together a computer with old parts I had laying around. There are many other excellent front-ends but I am not going to go into that now. You will want to explore the options though and try several out for yourself.
I had designed an arcade cabinet in Sketchup a while ago. There is a free version of this 3D application which is easy to use and you can "google" for various sketchup arcade cabinets. You can download these freely available, already complete cabinets to use as a base for your design.
The original one I had created was based on a "thinner" version of a Double Dragon unit. I was now going to go for 4 player and so I used the same design but expanded it to support a 27" tube television ("no stinking lcd for me", I said) and a 4 player control panel. The unit could not be deeper than 24". My friend owns a vinyl printing business and for him to produce the side-art, it needed to be kept to that depth.
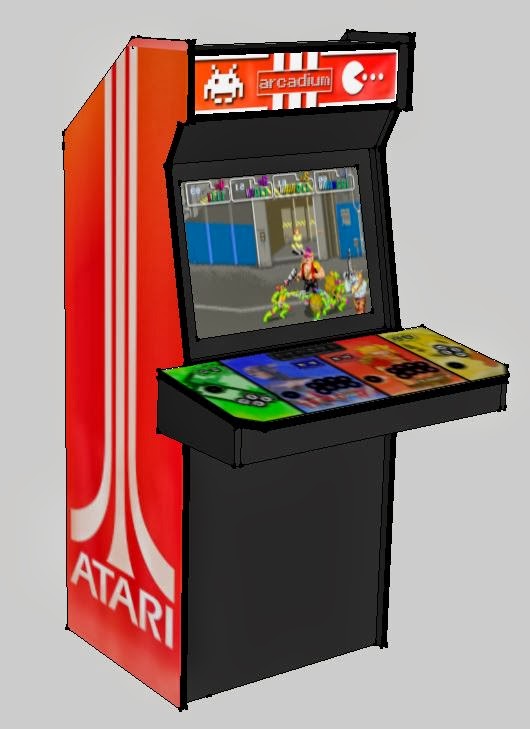
Here is the final design I had settled on:

The depth was 24", the width was 29 1/2 " (28" panels with 3/4" MDF side panels) and the height was 71". I wanted to get the unit in the house and into my office/mancave so I made the control panel removable. It is a slightly larger version of the TMNT control panel. The design also didn't have any complicated cuts simply b/c I didn't have the tools to make those. I am a novice, why set the bar to an unreasonable level my first go at it?
I drew out all the pieces I would need on paper with their dimensions and worked out how best to utilize the MDF to limit the number of pieces I would need to buy and the cuts I would have to make. One nice thing about Sketchup is that it gives you the exact size of the line in any measurement unit you wish.
I then did a rough version of the control panel utilizing layouts from Slag Coin and made some adjustments. I had settled on eight Player (1) and Player (2) buttons, four Player (3) and Player (4) buttons, a start and coin button for each player and 6 menu buttons. I wanted to get a real coindoor to use but it wasn't in the budget and the way I had designed things, it would be easiest for my kids to just press a button.
I then ordered all the parts, the t-molding and the J-Pac. I would recommend waiting on the t-molding until you are about to paint, I found that later I needed to buy more and so I ended up with some waste. I wasn't off by much but enough that I wanted to offer that suggestion.
I purchased 2 sheets of MDF 3/4" from my local lumber yard as well as 3 - 1 x 2, 8 feet and 1 - 2 x 4, 8 feet. I then cut down each piece to their relative size with a table saw. The 2 side pieces which were not square, obviously, I used a jig-saw to cut them close to their correct dimensions. I then used a router and a straight edge to get the lines perfect.

I also took the television out of its case and built a frame around it so it would fit in the cabinet.


I did not discharge the TV which you should consider. I took extra precautions, wearing safety gear and it all worked out well. Just be careful.
I then began to piece it together and tested the fit of the tv.


.jpg)


I then created the back door space by ripping one board into 5, 4 sides and the door.

I then, had problems...terrible frustrating problems. During all of this, the video card I was using developed problems. It was a Nvidia 6200 that would just blue screen and shutdown after a while. I had already addressed an issue with Mame and this card line where I had to use a specific driver, now it was killing my computer after running a short while. I even tested it with an old "burn-in" program we used at the PC Shop I worked at years go, and it would crap the bed.
I had a 6800 GT laying around so I used that. I then found it had some problems with the TV and refresh rates. Any time a video would kick on, from any front end I used, it would cause the screen to flicker, the "s-video" text would pop up on the screen. It was really irritating, heartbreaking, etc. I had only 2 weeks left and after spending 2 days trying various refresh rate applications, I could not get it to work. I tried to track down a few 27" TV's on Craigs list but they were either too big or did not have s-video. I decided to go back to the LCD I had purchased, the 4:3 Dell monitor and use that. I knew I could upgrade that later, I had to make my deadline.
I then redesigned the bezel and got that in place. I essentially placed 4 pieces together with the correct "hole" dimensions. I then used a router to put a groove on the backside for the monitor to "sit" in.


I had designed my cp, marquee and side art during all of this as well. Once I had my finalized art, I sent that off to be created and had a copy made at Kinko's so I could get the holes drilled.

My neighbor loaned me his drill press and I got to work...bam!

I then cut the holes for the speakers I had purchased (1 1/4" exactly) and placed the final piece to my puzzle on the cabinet.

Here it is coming together.

Here was my initial design for the side art, marquee but I didn't think it fit with my control panel and although I really liked it, I wasn't in love with it...like my fourth grade girlfriend. Sorry Kim.
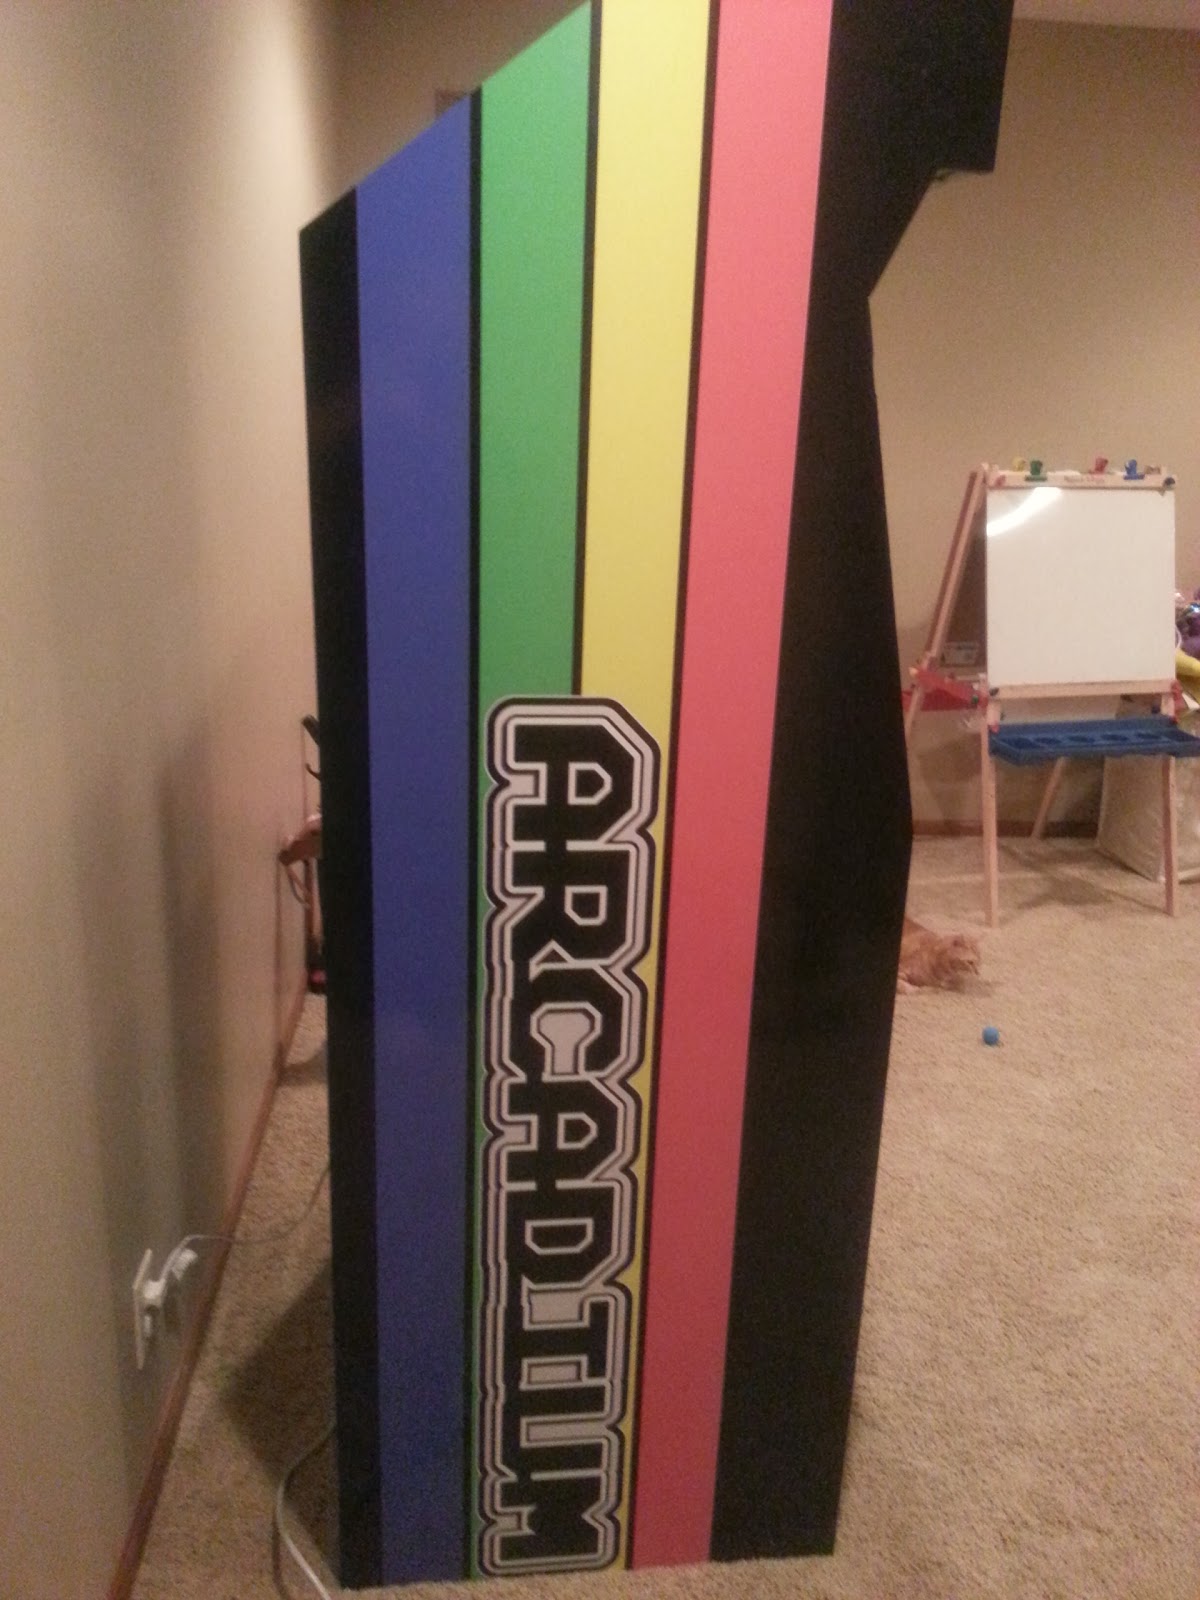
I kept playing around with different Marquee designs and finally decided on the following:

It tied in the 4 player colors, some awesome 80's elements and the "theme" for my build, Arcadium.
The Control Panel (sorry for the water mark):

I wanted to give it a bit of a worn look, like kids have been playing with it for years. I also tied in some characters which matched the colors, to give it something different and fun.
I then brought the Marquee look into the Side Art.


With the art complete and off to be printed, I got to work painting.
I had filled in the holes and cracks with wood filler and the whole thing had been sanded. I then sealed my cabinet with 50/50 water and wood glue and then sanded it all again once that was dry.
I applied Semi-Gloss Black, oil base paint. I painted the entire exterior and did a second coat to any surface which would be visible after the art was applied. I am not sure what happened to the pictures I took, they are not on my phone so just imagine painting...very exciting huh.
While all that was drying, my control panel art came in an my buddy ran by to install it.

I thought it turned our really nice, much better than I expected. Here it is after I installed the t-molding:

From here, I could finally get the CP wired and begin testing. It wasn't quite as bad as I was expecting but it certainly took some time and required a bit of troubleshooting once complete.
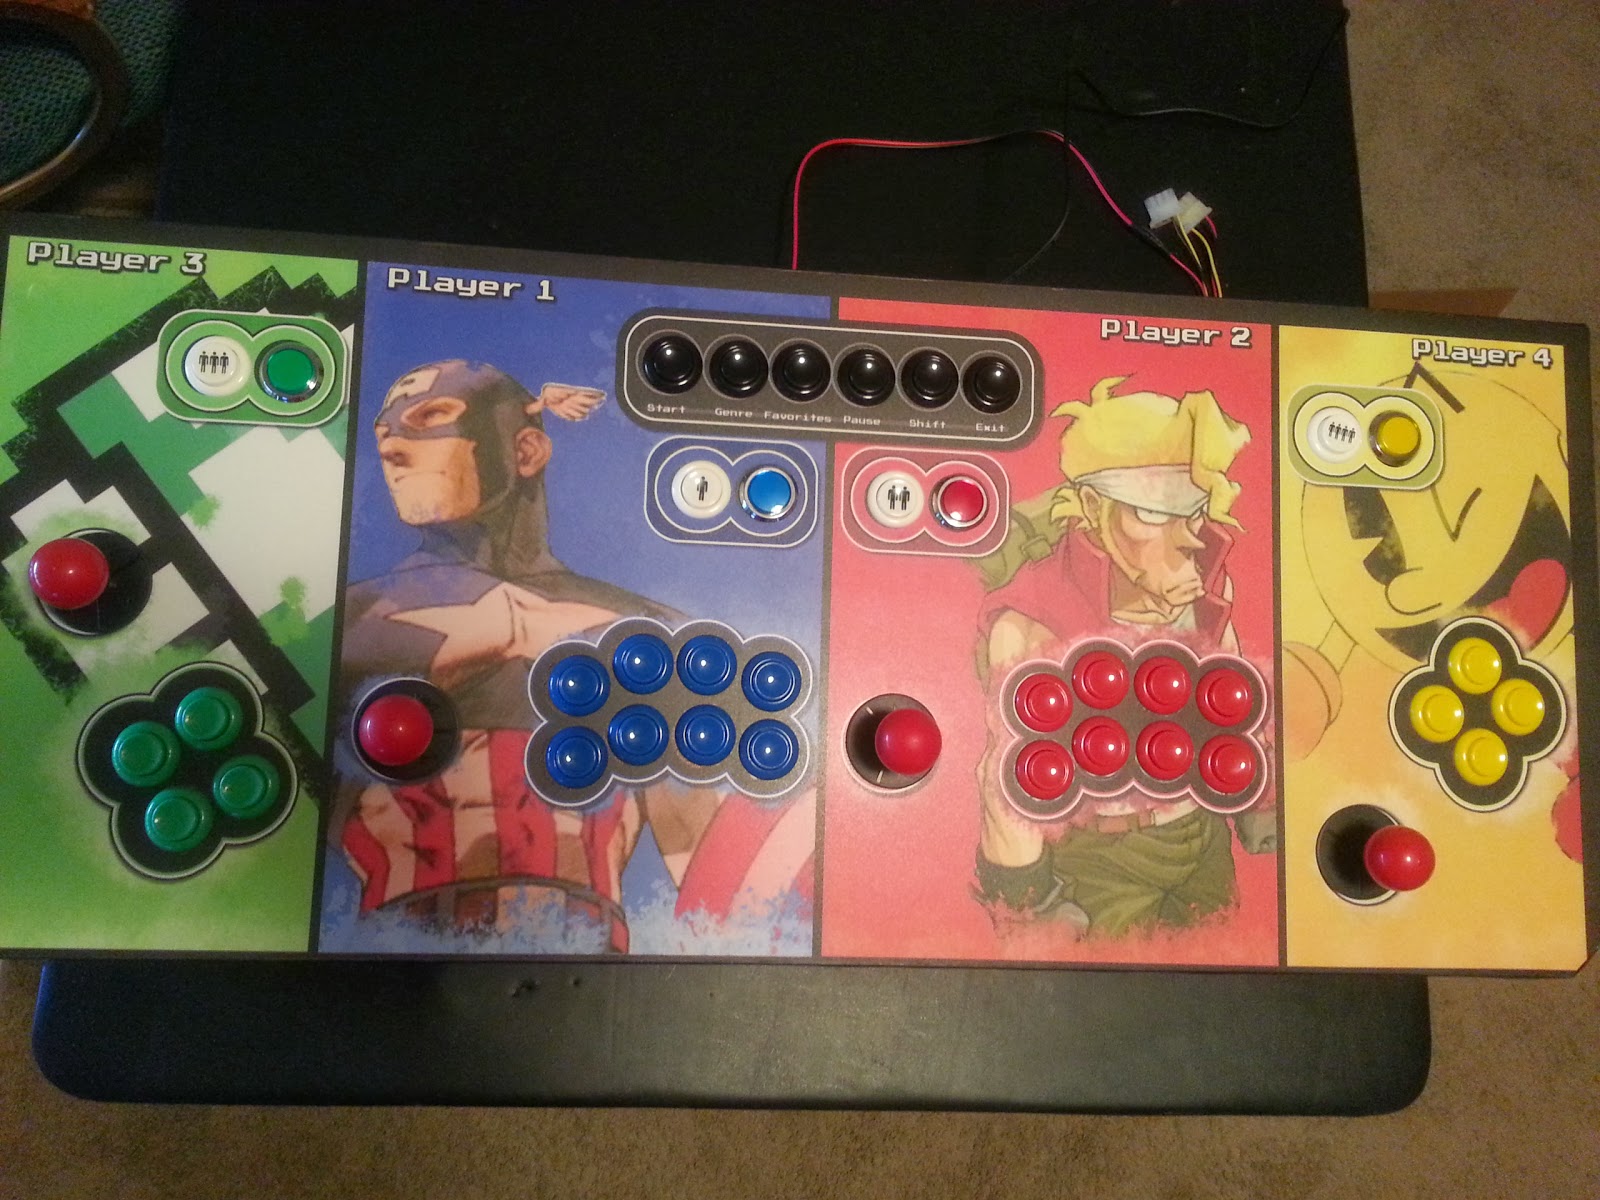
If you notice, the coin button is an LED button. I was a little nervous with how this would be powered but it turned out be very easy. I mean, I knew how to make it work, but just hand't done it before. I wired them to a pc power Molex connector extension I had. I then connected that into my pc power supply. Worked perfectly.
A day or so later, the rest of the art was ready to be installed. We first moved the unit down to my basement and then my buddy got to work.


He then installed the art to the plexi for my marquee. Here it is lit up.

Here it all is together, first look at the art!


This really pushed me to get finished. I had just a few more days before my deadline. I got the control panel finished and spent a few hours scratching my head before I finally understood how to reprogram the J-Pac. It was a little confusing for whatever reason but basically, with a keyboard plugged into the pass through, open up notepad, hit cntrl/alt/p and the programming application will come up, essentially "writing to the screen" through notepad...pretty clever.
There were some buttons which had the exact same keycode, so I corrected that. I also later found, through my kids testing it out for me, that having any buttons with a keycode of alt, tab, control or delete was a TERRIBLE idea. I would recommend changing those from the start if you need to.
With that done...I just needed to assemble it. I installed the speakers, monitor and my handy dandy power strip. When the PC is powered on, it turns on everything else. Would have worked great if that darn TV wouldn't have given me fits. Here is a link to the product on Amazon (LINK).
I then installed the control panel using 4 bolts, lock washers and lock nuts. I then wired it up and with a small tear in my eye, smiled as she came to life.


Unfortunately you can see seams in the bezel. Those weren't there until I installed it. I think I cut everything too perfect and the snug fit caused the seam to pop when I installed it. I purchased glass to cover the entire bezel so I am hoping it hides it a bit. I didnt want to install that until after my son's party. Just in case it broke, I wouldn't have to rush some kids to the hospital with glass stuck in his cornea.
Here are my kids testing it out and then further below, at the party. It was a huge hit!


I tried to installed the glass afterwards. It is cut just a little too perfect. I knew better and should have had it cut 1/8" narrower. It "fits" but is so snug I'm afraid it will scratch the paint or crack the glass. I'll need to run it back down to the glass shop and see if they can do anything or I will just have to buy a new one.
I think all in all it turned out great. There were so many things that I had to learn and understand to put this together I'm surprised I survived. I'd really love to make another but maybe next year.
A few more pics of the near final product:


